Upload & Manage VOD Assets
Upload a VOD Asset
To upload a video asset you sign into the portal, https://redbee.live/portal/
- Enter menu tab "Upload"
- Add a new asset by clicking the "+CREATE" button in the "UPLOAD AN ASSET" widget
- If you have a service of multiple Business Units, it is possible to upload an asset which can be available on all of them. Then the availability has to be selected as a Customer within the field "Availability". If no choice is made, the Business Unit is automatically selected.
- Click browse to add your asset and fill in the availability dates and purge if you want the video material to automatically be removed at a specific date.
- Select a product of choice (See, below)
- Click on "UPLOAD"
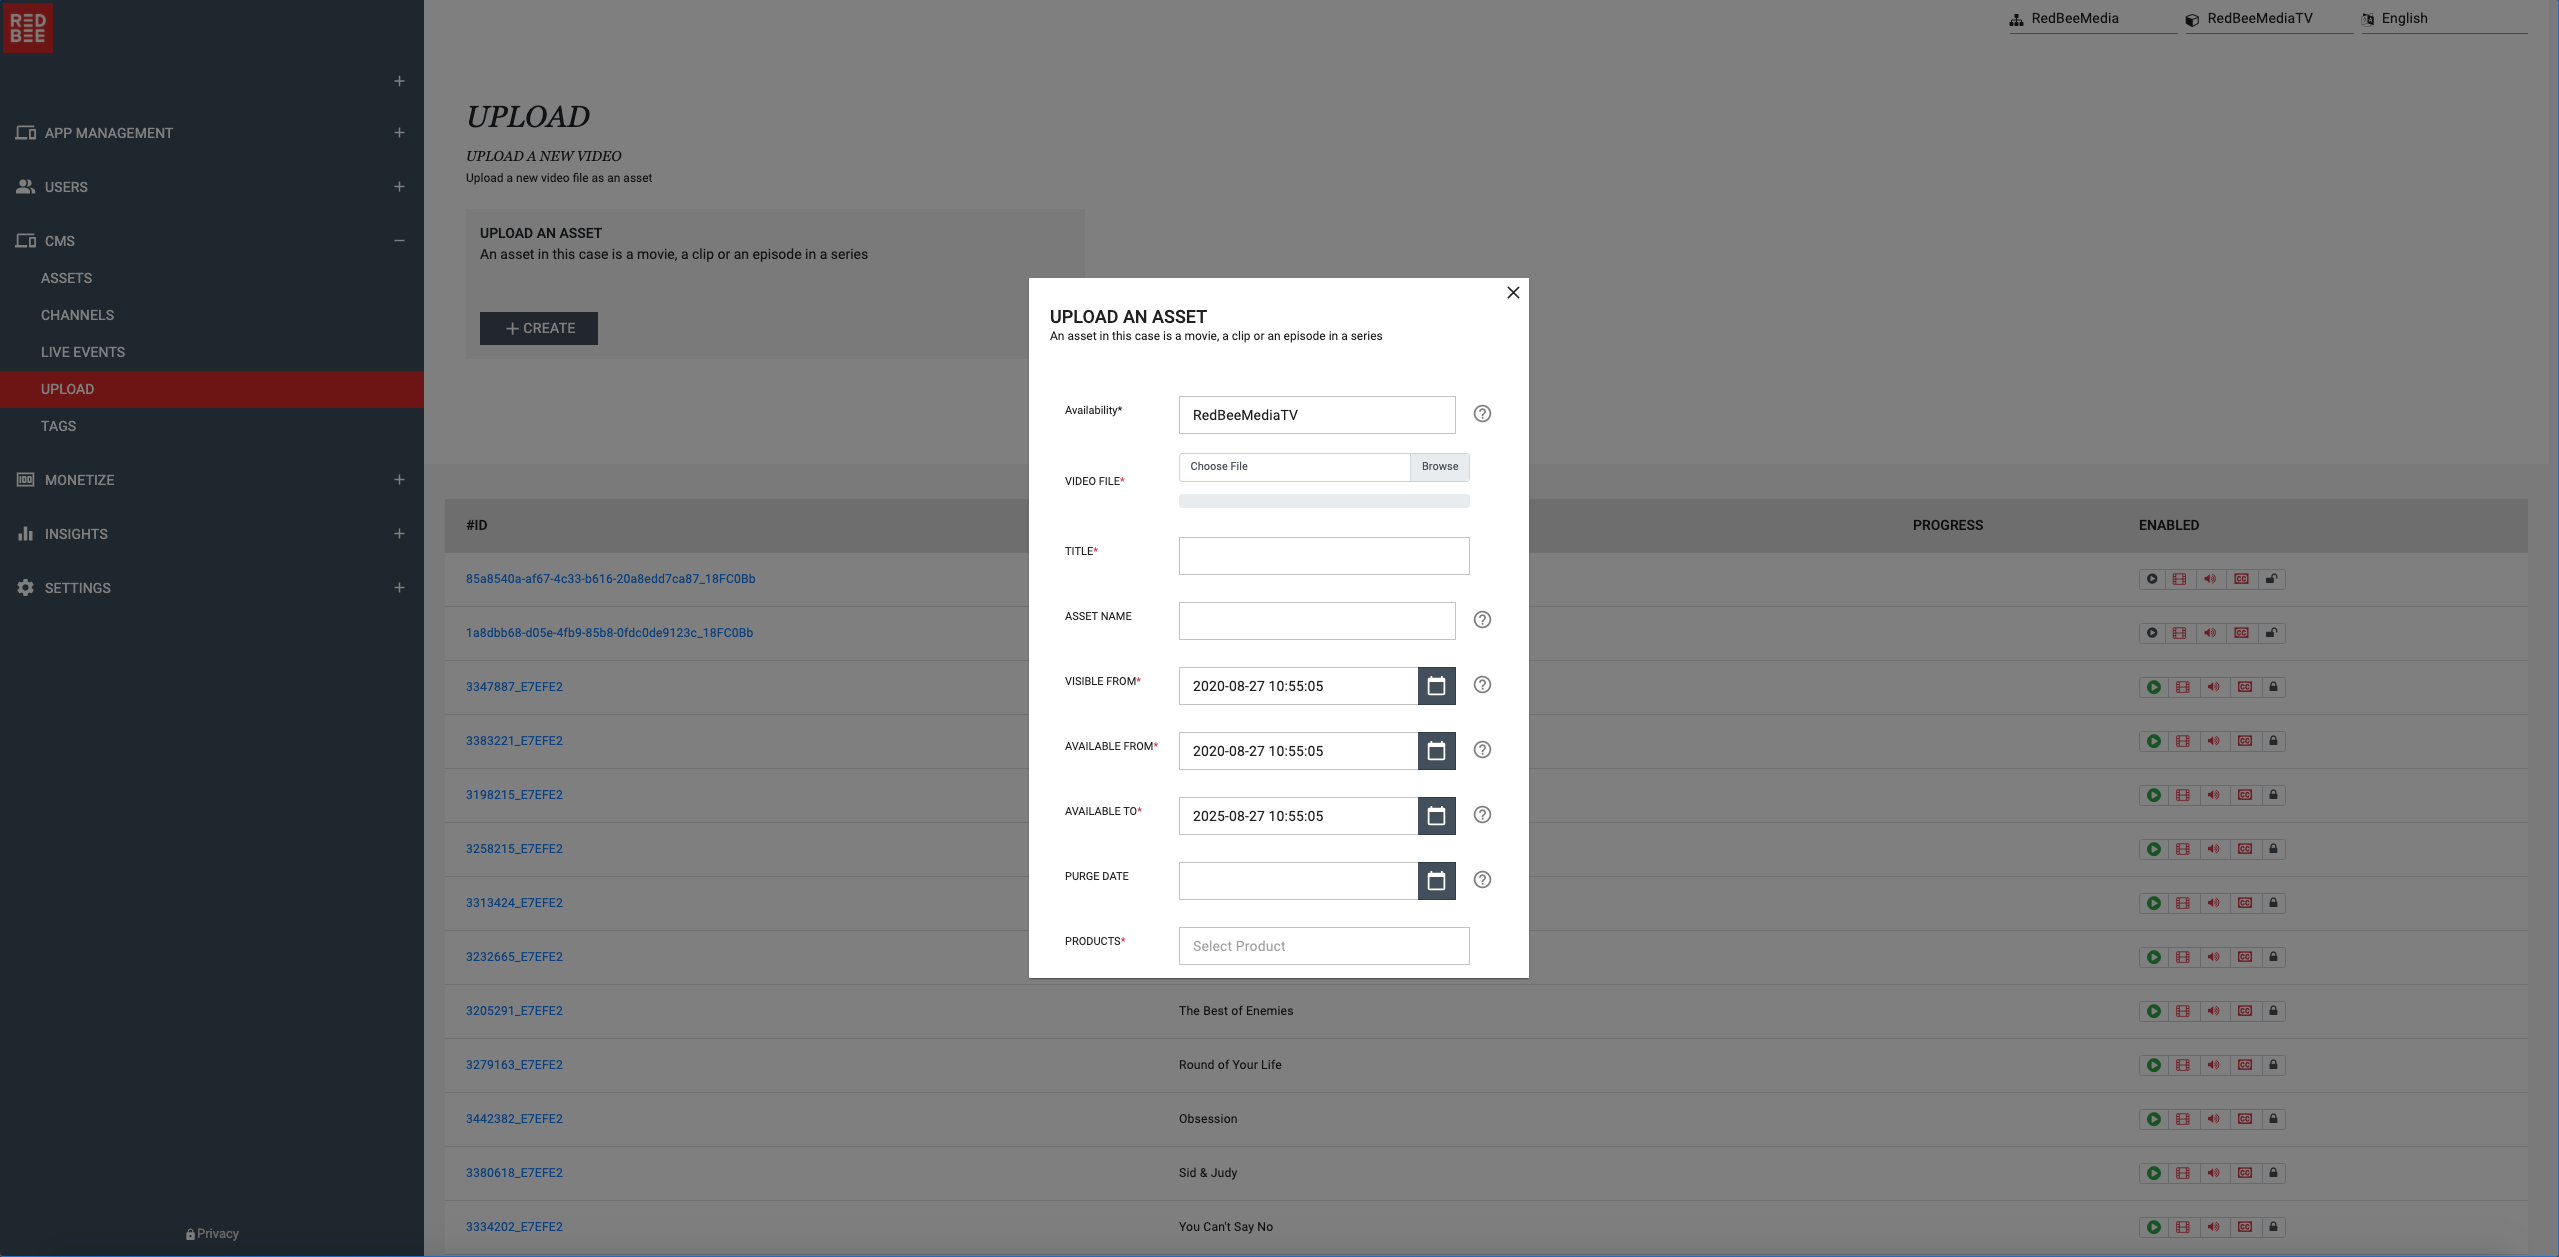
Note: The file can take some time attach to the page, so have patience. Once the bar below the field "VIDEO FILE" has turned green, you can press the button "UPLOAD".
Your vod is now being ingested and transcoded into your OTT service.
Products
When the service is setup, the following product are created automatically:
| Product | Notes |
|---|---|
| Available for all logged in users | A user must login to play the content |
| Available for all users, also non logged in | Login is not required to play the content |
To configure if users need to log in or not, please see: End User Access.
Add Meta Data & Images
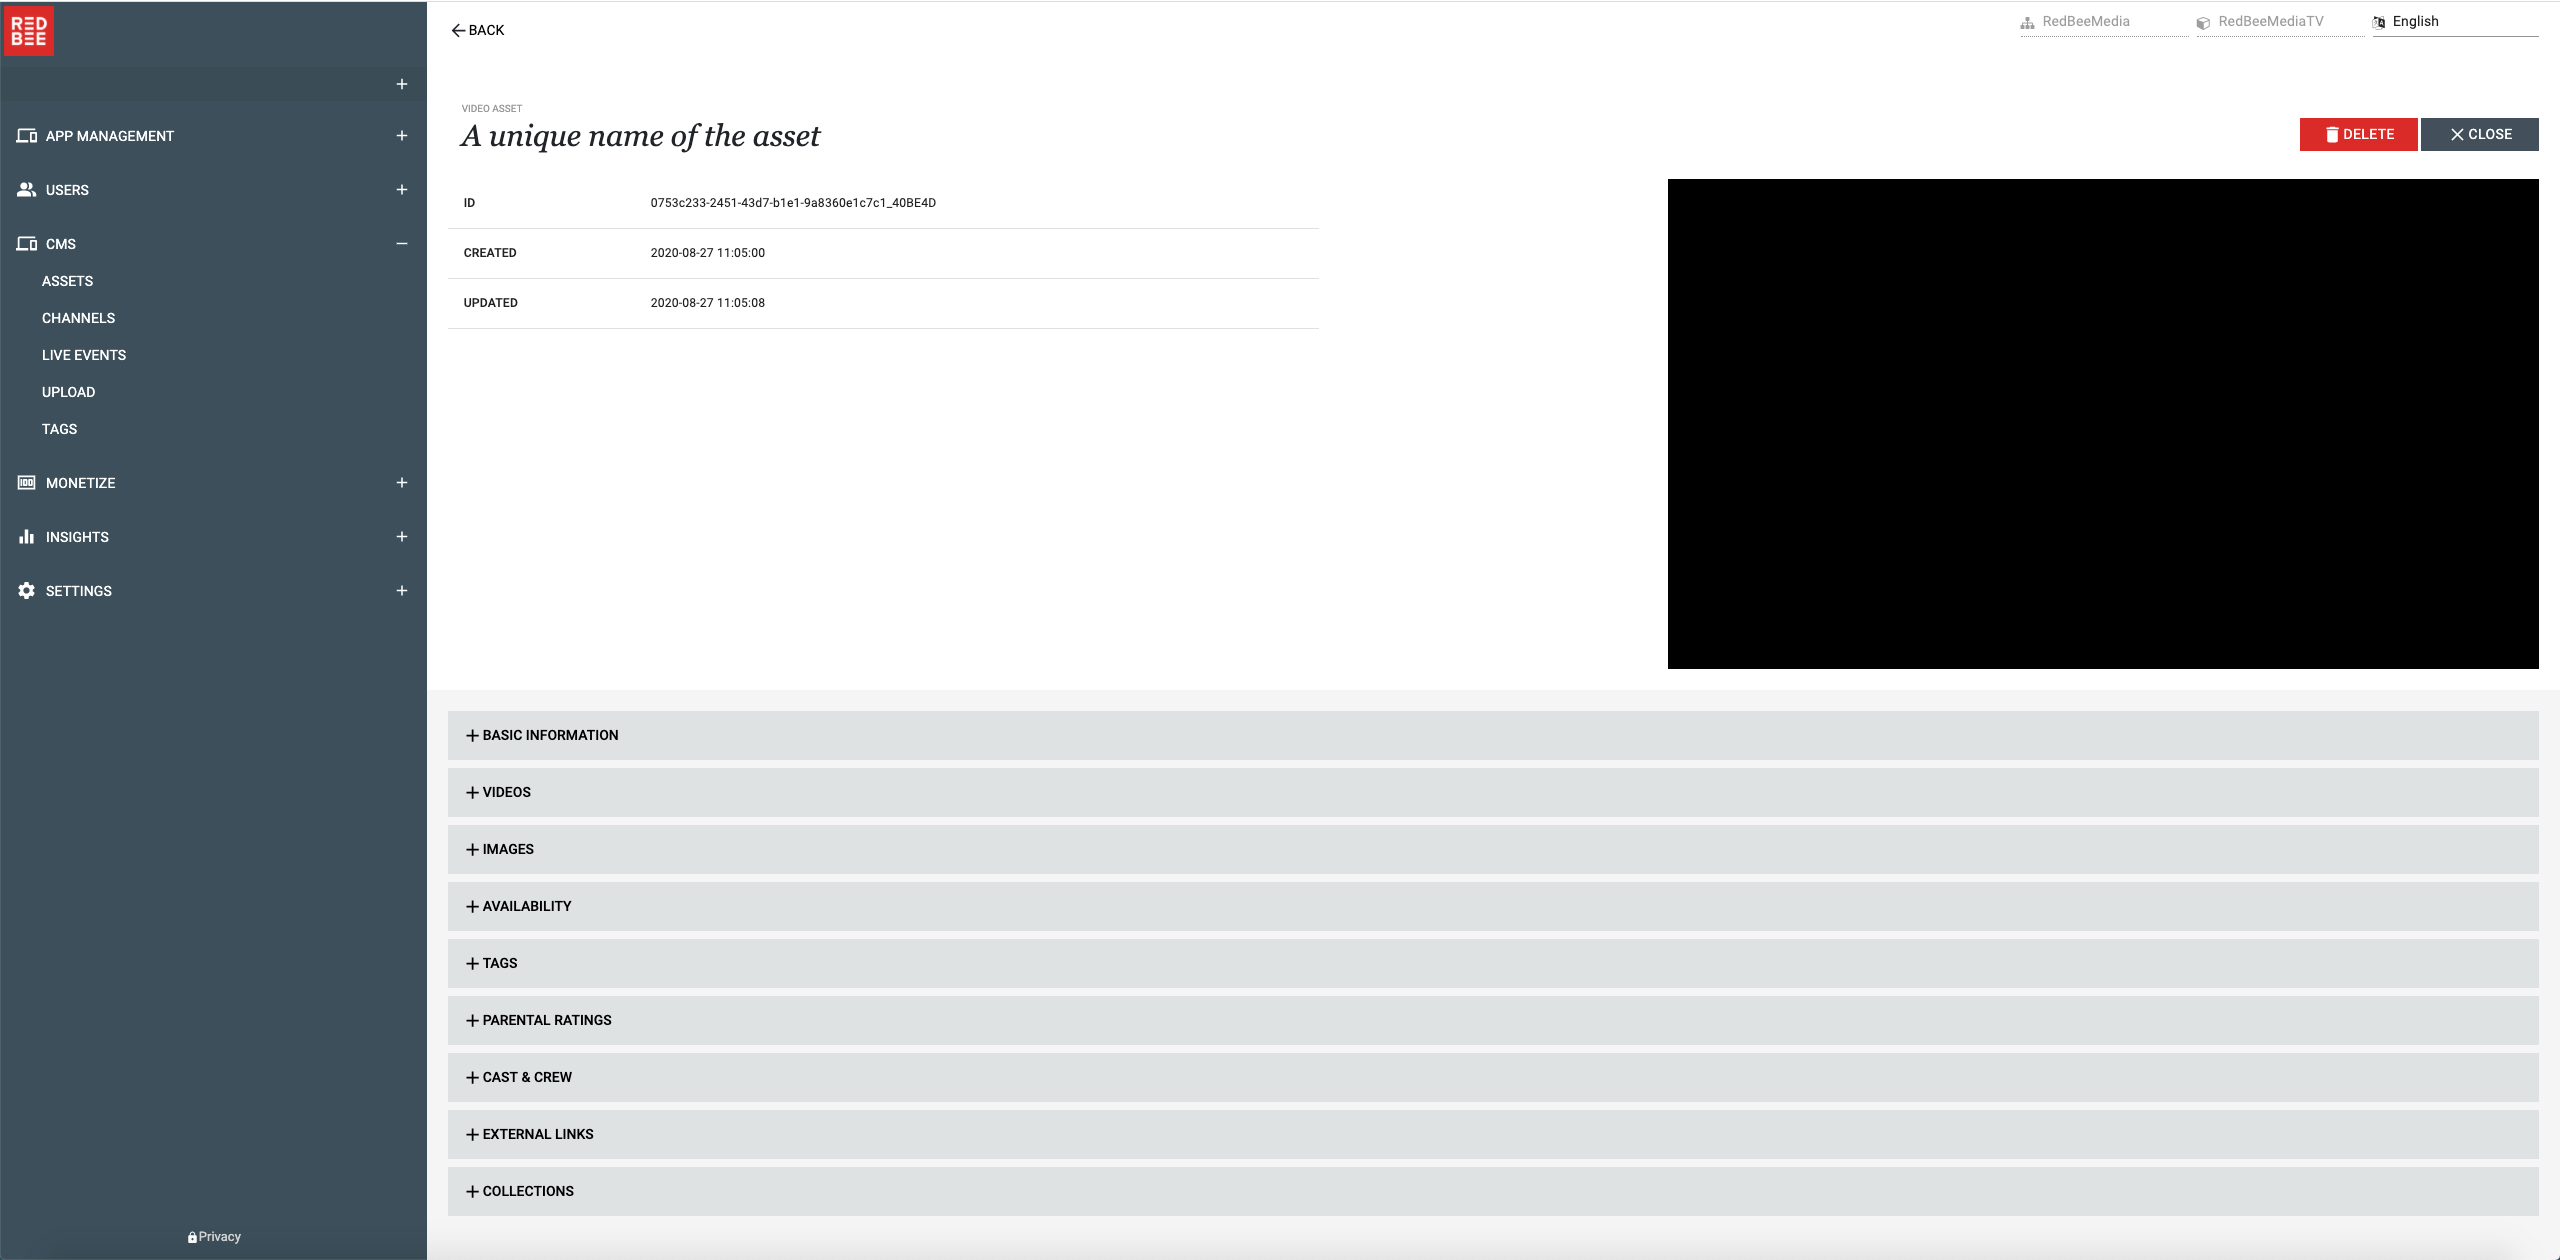
Click on the asset title that is being encoded or go to the menu choice "Assets" and find your full list of assets in one place.
- Add all the needed meta data by clicking on the + in the accordion menus
- Add one or more images by clicking +ADD You can pick from "from Thumbnails" which are images taken from your video file or by adding your own
- If your service is using the Red Bee provided apps, select Cover as Category
- Finish by clicking +ADD
Use of Tags
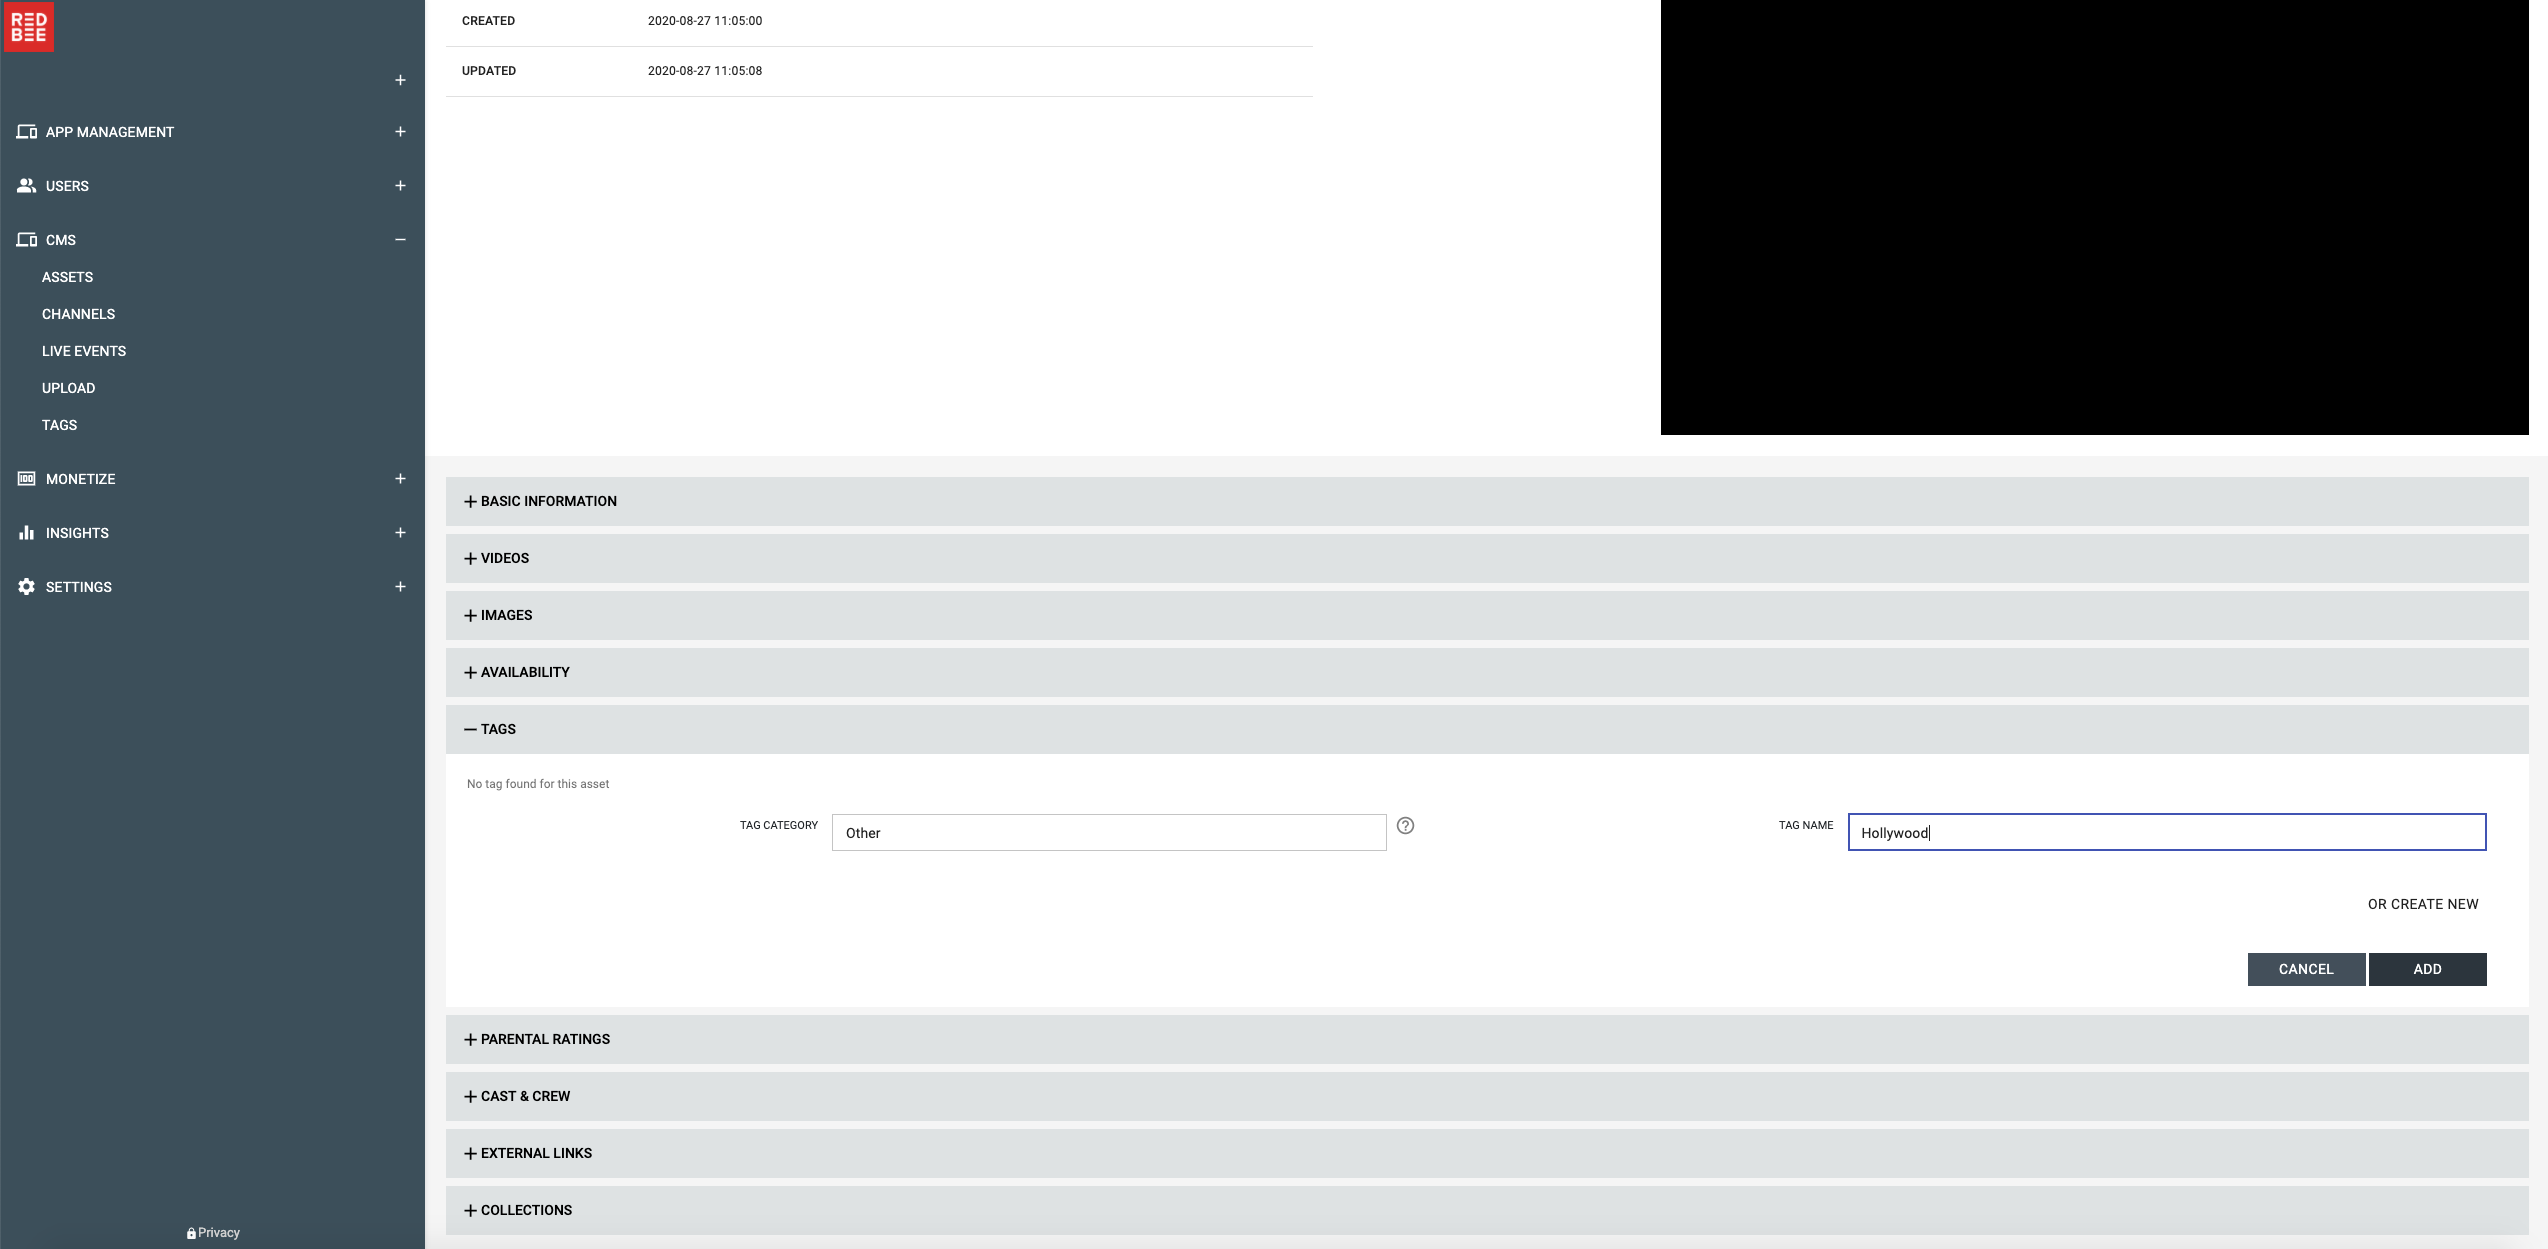
Click on the accordion menu choice TAGS to add your assets into different categories which later can be used when creating components such as carousels, grids, lists and virtual channels within the service
- Add a tag by clicking +ADD
- Choose between an existing one or by adding a new
- If you have a service of multiple Business Units, it is possible to create a tag which can be available on all of them. Then the availability has to be selected as a Customer within the field "Availability". If no choice is made, the Business Unit is automatically selected.
- Select multiple ones if wanted
Materials
A Material is our name for a collection of video, audio and subtitle files. In most cases an Asset will only have a single Material, however our platform does support Assets having multiple Materials associated with them when needed.
To view an Assets Materials, expand the VIDEOS accordion menu.

From here, you can create a new Material (Click UPLOAD) or and view the details panel of existing Materials (Click the kebab menu button to the right of the Material's "status")

Adding subtitle files to a Material
- Open the details panel of the Material
- Click NEW VERSION to open the UPDATE MATERIAL dialog
 3. Click SELECT FILES, choose your subtitle files and click OPEN
4. For each subtitle file, select the language from the drop-down menu
5. Click SUBMIT
3. Click SELECT FILES, choose your subtitle files and click OPEN
4. For each subtitle file, select the language from the drop-down menu
5. Click SUBMIT