Managed Domain
Using a name under our managed domain allows you to serve content to users using a friendly DNS name, instead of the automatically generated one.
Configure Managed domain
Follow these instructions to use a name chosen by you to serve content to users.
Customer Portal
1. Navigate to domain settings
- In the context menu (on top), select:
- Customer
- Business unit
- Using service menu (on the left), navigate to:
SETTINGS->SERVICE SETTINGS
- Expand the
CUSTOM DOMAINSpanel
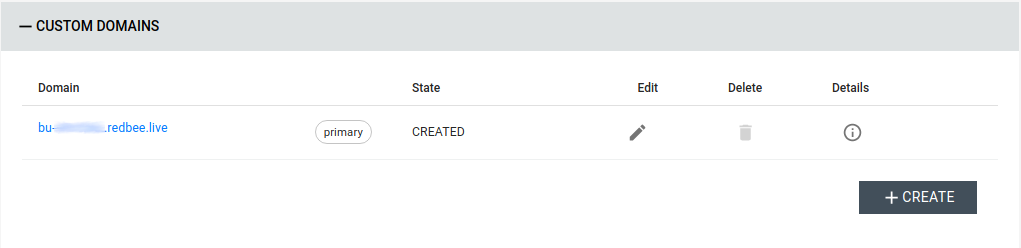
2. Add a domain to the service
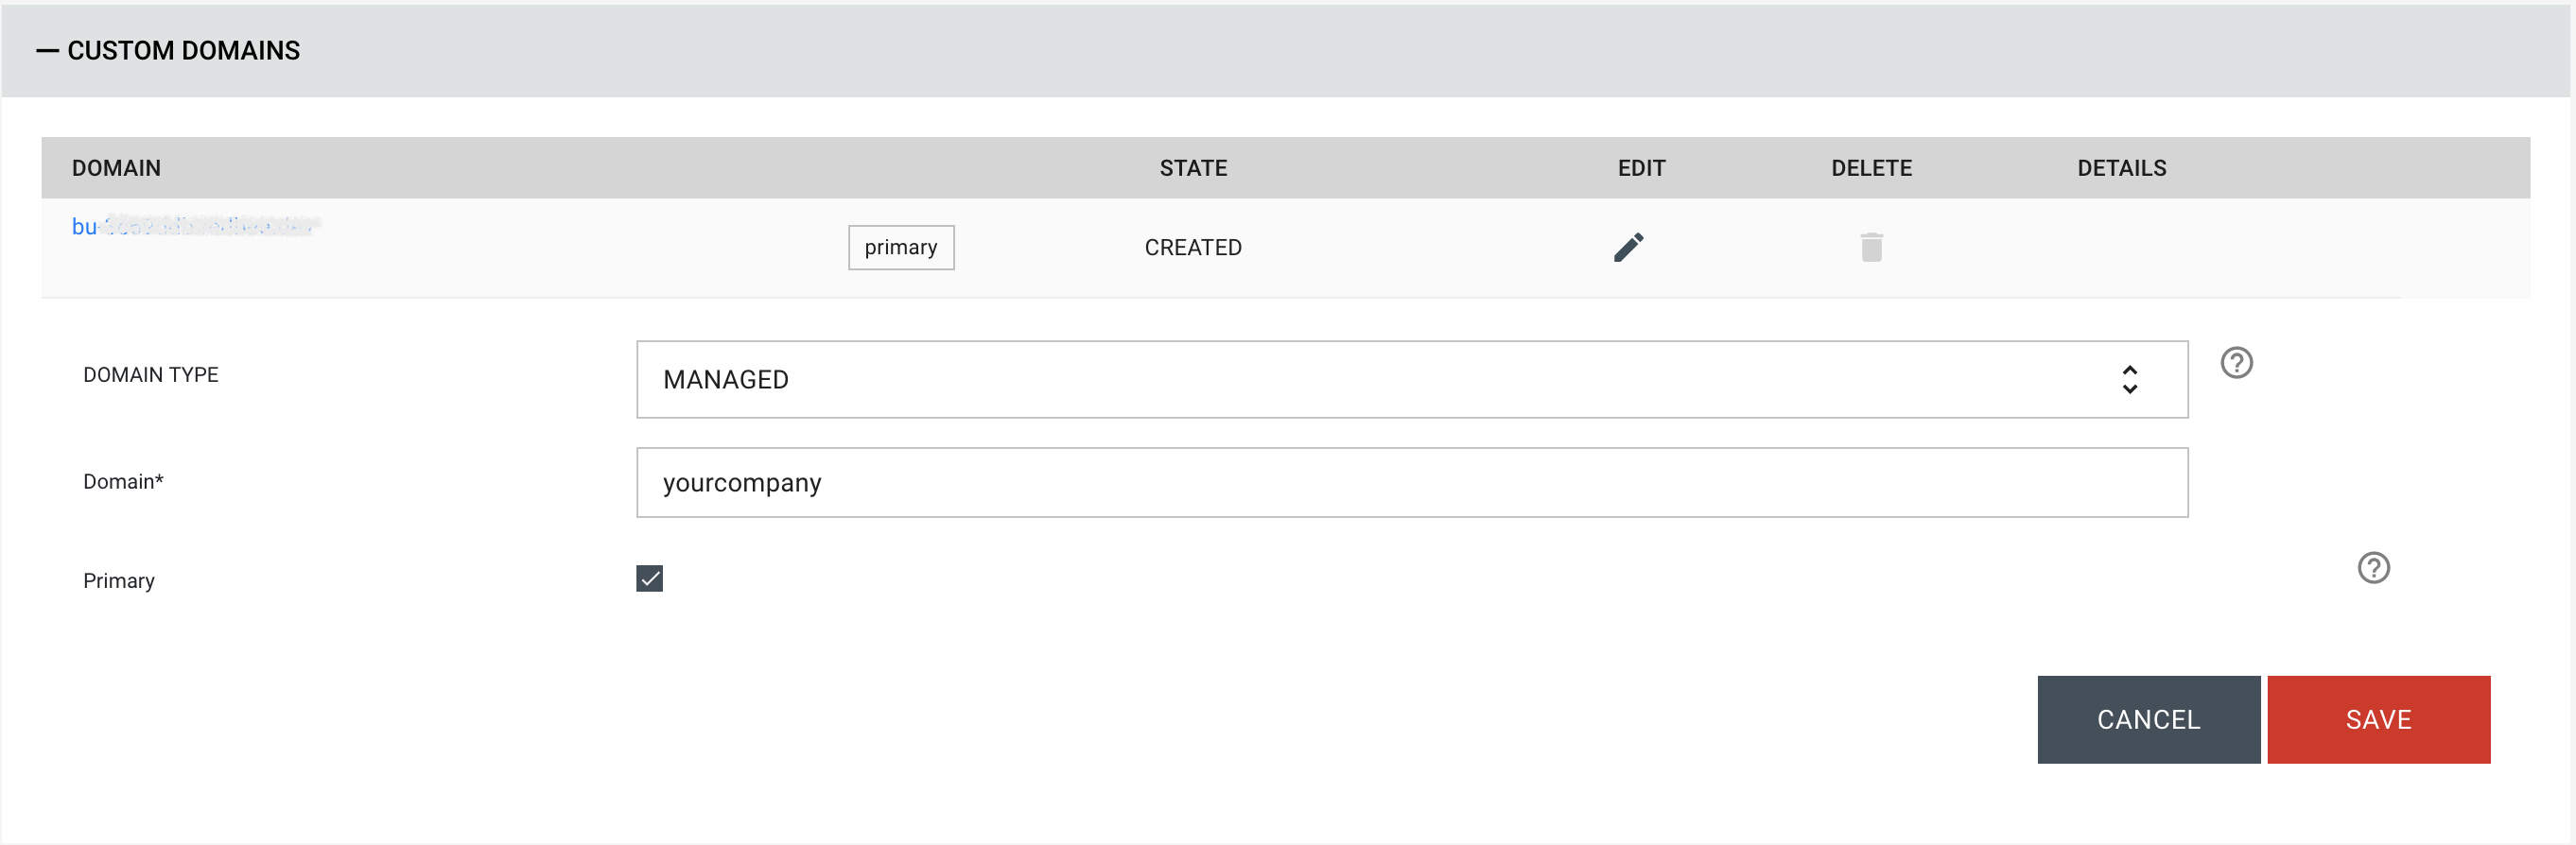
- Click the
CREATEbutton - Fill in the form:
- Select
MANAGEDasDOMAIN TYPE - Fill in the desired name in
Domain - Unselect
Primaryif you do not wish to use this domain as default
- Select
- Press the
SAVEbutton
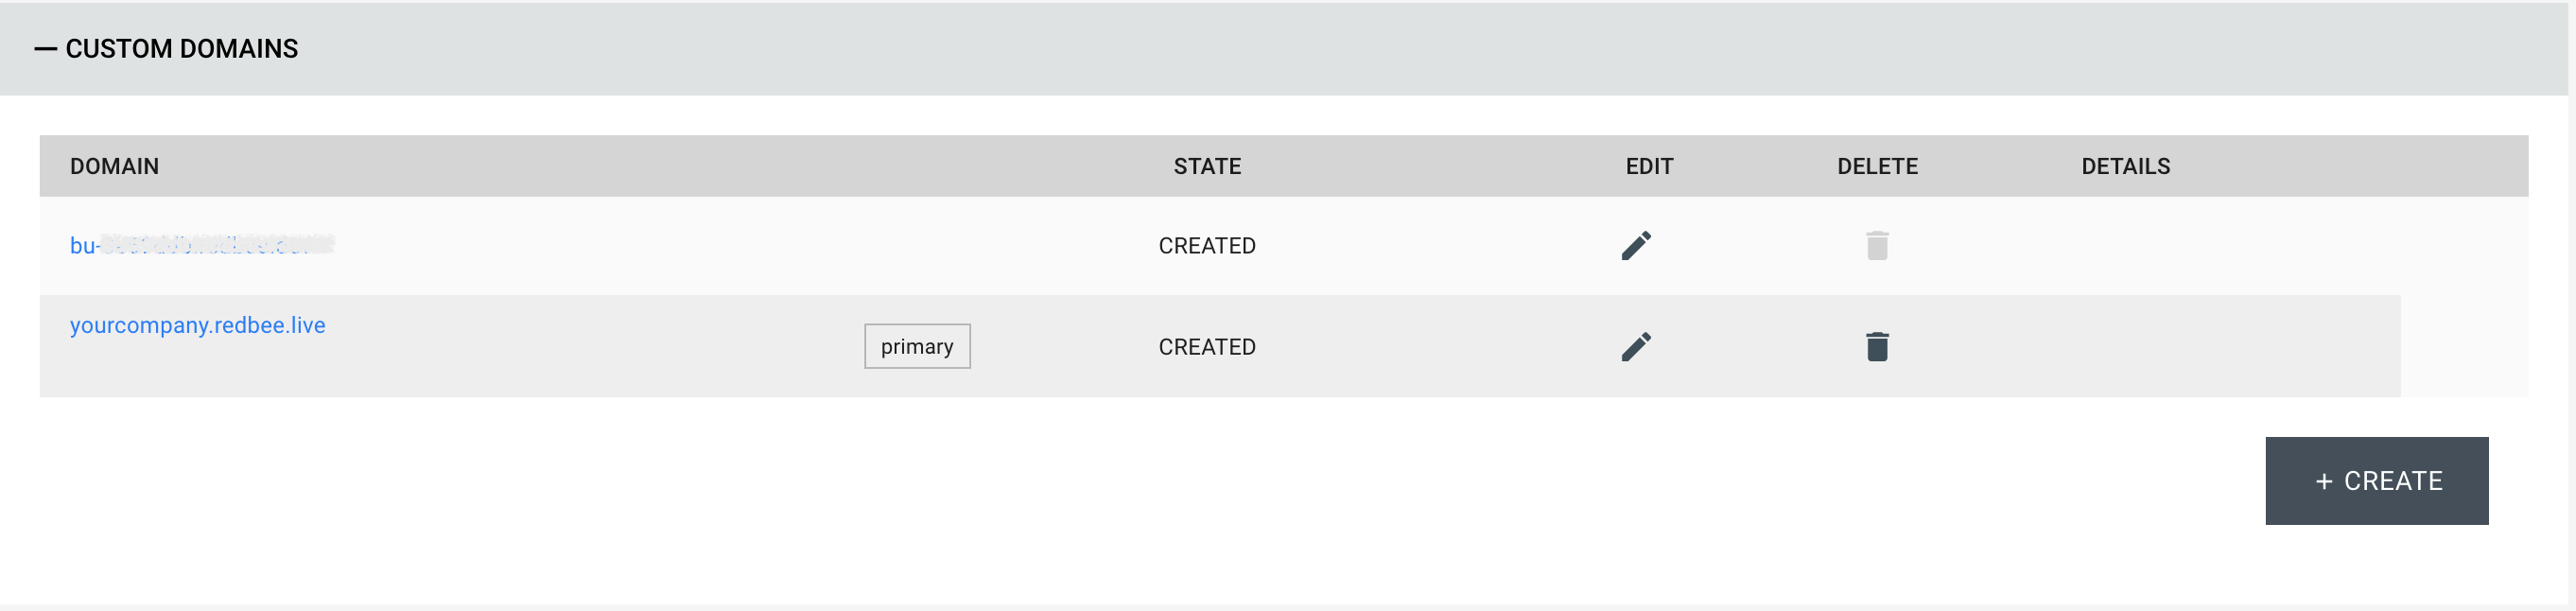
- Verify that the domain has been created.
Troubleshooting
It might take a little while for the domain to become active.