External Domains
To serve content to end-users using your own domain, instead of the one provided by the service out of the box, you need to configure one or more external domains.
Apex domain support
Warning
Due to technical limitations in how DNS works, it is currently NOT supported to serve traffic to end users on the apex domain.
What this means is that you are required to use a sub-domain, such as stream.yourdomain.tld instead of yourdomain.tld.
Apex domain redirect
Warning
This is currently not supported within RedBee OTT product.
If you would like users to be able to type in yourdomain.tld instead of the configured sub-domain stream.yourdomain.tld, you configure your server at yourdomain.tld to redirect users to the sub-domain.
Sometimes this is offered by the DNS registrar for the domain.
Configure External domain
Follow these instructions to use a name chosen by you to serve content to users.
Customer Portal
1. Navigate to domain settings
- In the context menu (on top), select:
- Customer
- Business unit
- Using service menu (on the left), navigate to:
SETTINGS->SERVICE SETTINGS
- Expand the
CUSTOM DOMAINSpanel
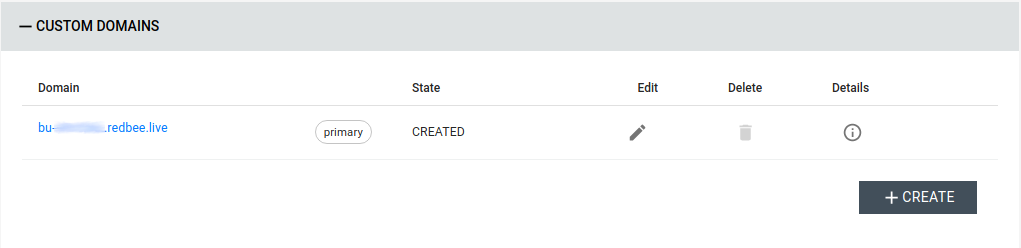
2. Add a domain to the service
- Click the
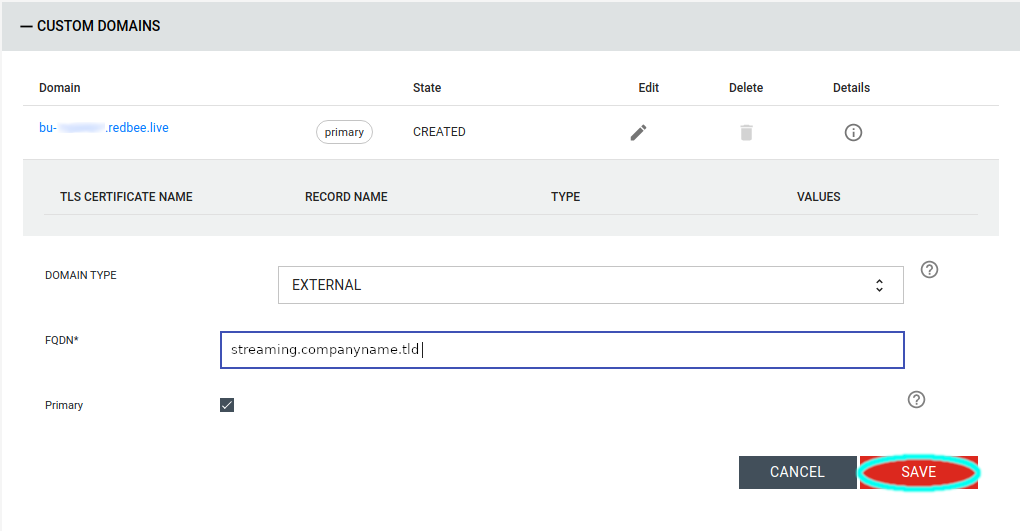
CREATEbutton - Fill in the form:
- Select
EXTERNALasDOMAIN TYPE - Fill in the desired domains name in
FQDN - Unselect
Primaryif you do not wish to use this domain as default
- Select
- Press the
SAVEbutton
3. Gather DNS record information
Now it is time to gather all the information required to set up the service records.
- Write down the built-in
Domainname for the service.
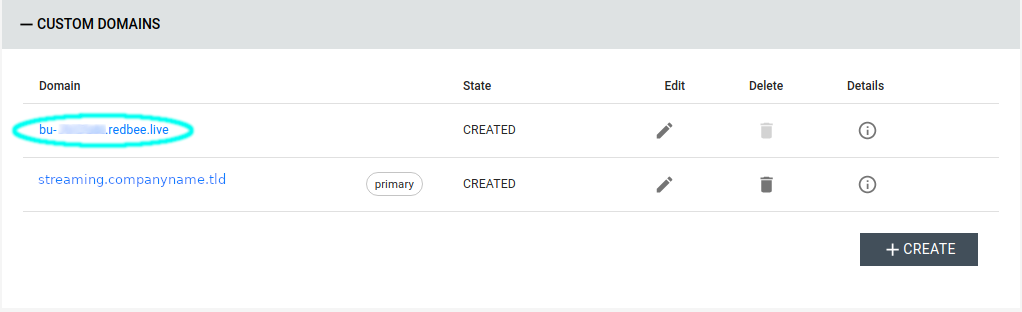
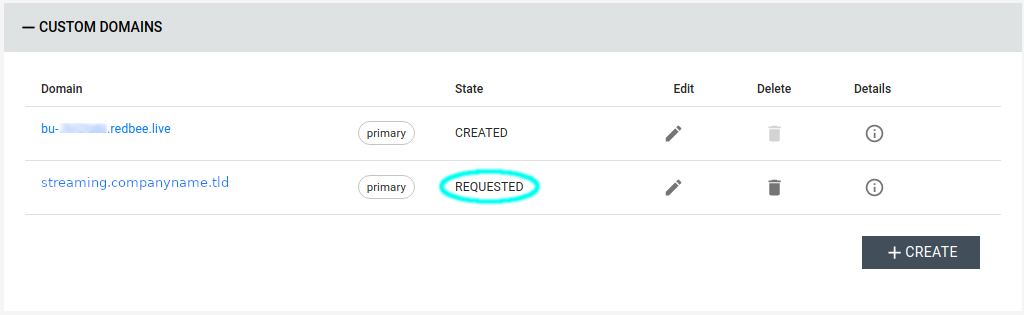
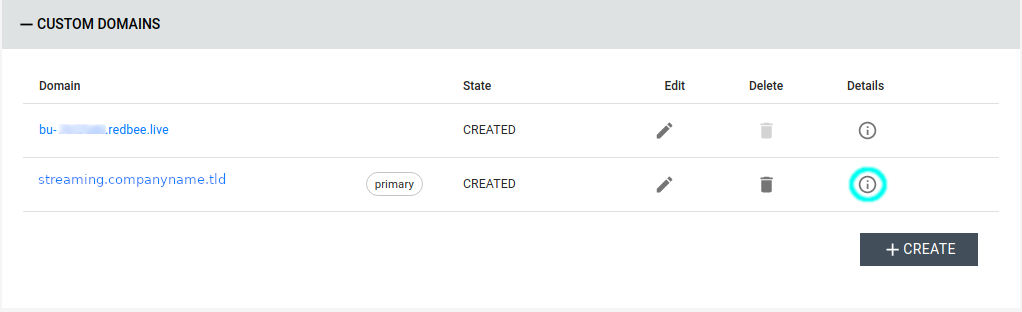
- Refresh the page until the state for the configured domain changes from
REQUESTEDtoCREATED(usually takes a minute or two).
- Reveal the details of the configured domain by clicking its
Detailsbutton in the list.
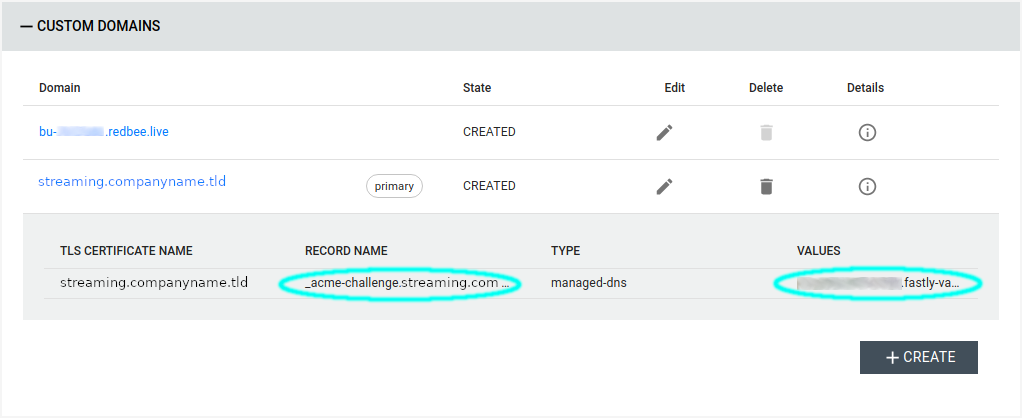
- Take note of the
RECORD NAMEandVALUESfor the configured domain.
External DNS management
Due to the wide variety of DNS providers, and their individual interfaces, this section only provides general information.
Currently, only CNAME records are supported for external domains (please get in touch with us should you require A records).
4. Create service records
To serve traffic on the domain you configured for the service previously in the guide, create the CNAME record below.
- Create a
CNAME- Name: Usually host part of domain (until the first dot)
- Target: Name of built-in domain for service (the one starting with
bu-)
Example
Name: streaming
Target: bu-xyz123.redbee.live
5. Create service TLS record
In order to serve pages encrypted over HTTPS, it is required to issue a certificate for the domain you want to use.
To authenticate yourself as the owner of the domain during this process, create the CNAME described here.
- Create a
CNAME- Name: Host part of
RECORD NAMEfrom details of configured record above (typically_acme-challenge) - Target:
VALUESfrom details of configured record above (triple left-click + copy to clipboard + paste it)
- Name: Host part of
Example
Name: _acme-challenge
Target: mou8whsocpiz1cheps.fastly-validations.com
Verify setup
It should now be possible to navigate to the configured domain in your browser.
Troubleshooting
It can take a little while for the new DNS records to propagate, TLS certificate to be issued and CDN edge nodes to be updated.
Usually, this takes less than 10 minutes, but can take as long as 60 minutes.